Back to Energy Manager Main Menu
Entering bills in Energy Manager
Before entering bills, you will need to set up Line Item Types in your account.
Entering bills

- Click on Billing Data from the navigation menu, then select Utility Bills.
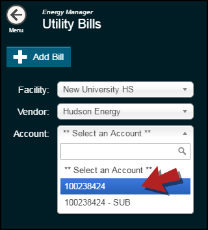
- Use the Facility, Vendor, and Account filters listed on the left to search for the Account you would like to enter bills for.
- Select the Account from the list.
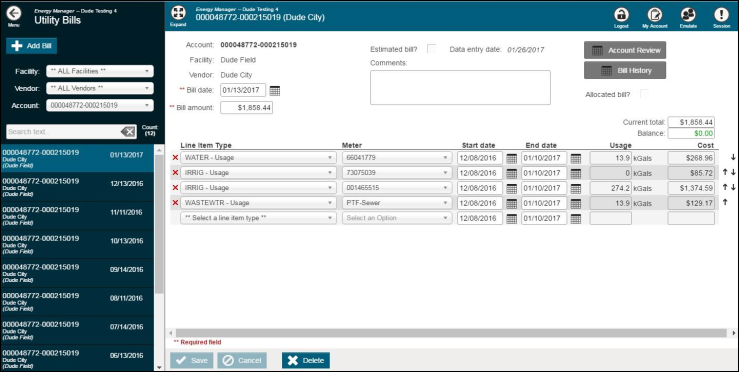
- If the New Utility Bill screen does not automatically appear on the screen, click the Add Bill button.
- Enter the Bill date and the Bill amount. These are required fields indicated with 2 red asterisks (**) *Note: Be sure that the Bill Amount only includes the charges for the current bill, and not a balance from past bills.
- In the first drop down, select the first Line Item Type that is listed on the bill. *Note: It is a best practice to list items on the bill entry form in the order that they appear on the bill.
- Select the Meter that is associated to this line item.
- Enter the Start date and End date of the bill.
- Enter the applicable Usage and Cost for this line item.
- Repeat this process until all line items from the bill have been entered. *Note: When entering costs for line items, the Balance field will automatically adjust and will not allow you to save the bill unless the Balance equals 0.00.
- For every subsequent bill that is added for this account, the line items added here will automatically populate for you.
- Click Save.